
Gold Fish Making
As per request, I shall post different views of the Gold Fish here. I am not very good in giving the step by step narrative on how to make it, so I just dismantle one of the experimental fish and show here. Hope it helps!
Number of red packets used: 7
1 for Belly; 2 for Right & Left Side of the Head; 3 for Tail and 1 to cut 3 fins(from corners).
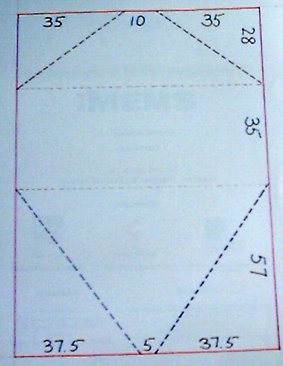
Size of red packet: 120mm x 80mm, hence measurement of drawing is also in mm.
Belly drawing:

Right & Left Side drawing (Mirror)

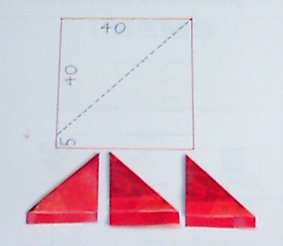
Fins drawing:

Belly (Exterior View)
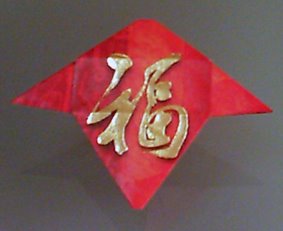
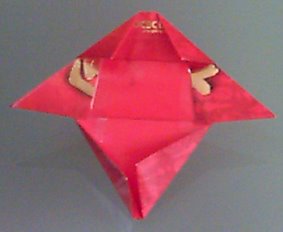
Belly (Interior View):
Right Side (Exterior View):
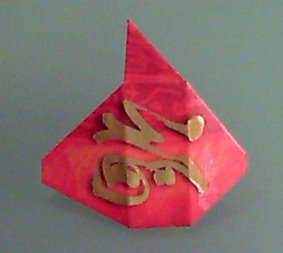
Right Side (Interior View):
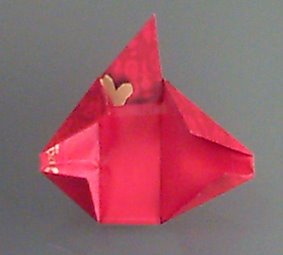
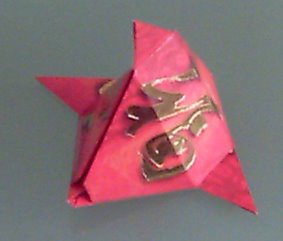
Head (Front View):
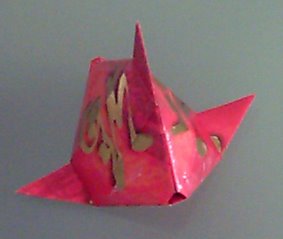
After taping with the belly.
Head (Hind View):
Do not seal the back until you have inserted the tail.
Tail:

Tail (Top View):
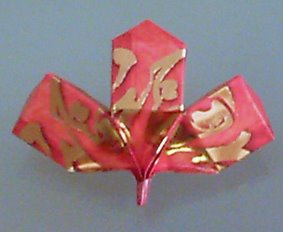
The three parts are taped together. The one in the centre must be slightly higher than those two at the sides.
Tail (Under View):
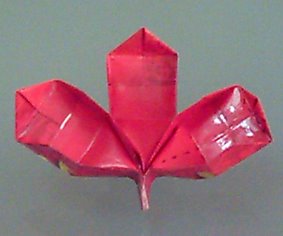
Tail (Side View):
Notice that the tip to join to the head is cut slightly at an angle? This is to ensure that when you join tail and head together, you can lift the tail at an angle to make it point up.
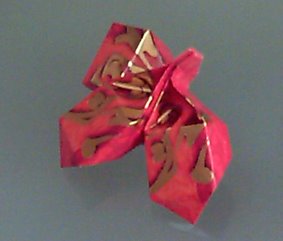
Gold Fish Belly:
.JPG)
After joining head and tail together.
Gold Fish Hind:

Notice that the tail is lifted up at an angle.
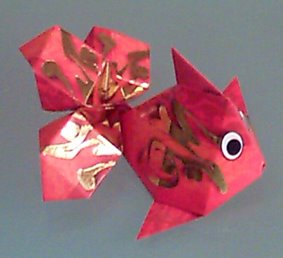
Gold Fish Side:
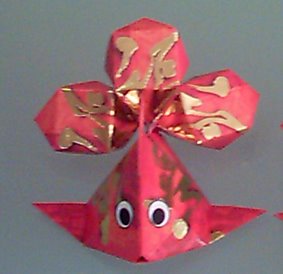
Gold Fish Front:
Note: For the Belly, Right & Left Sides of Head, there are thin cardboards inside the red packets. Use scotch tape to tape all parts together. For the eyes, just print and paste with glue.
Number of red packets used: 7
1 for Belly; 2 for Right & Left Side of the Head; 3 for Tail and 1 to cut 3 fins(from corners).
Size of red packet: 120mm x 80mm, hence measurement of drawing is also in mm.
Belly drawing:
Right & Left Side drawing (Mirror)
.jpg)
Fins drawing:
Belly (Exterior View)
.jpg)
Belly (Interior View):
.jpg)
Right Side (Exterior View):
.jpg)
Right Side (Interior View):
.jpg)
Head (Front View):
.jpg)
After taping with the belly.
Head (Hind View):
.jpg)
Do not seal the back until you have inserted the tail.
Tail:

Tail (Top View):
.jpg)
The three parts are taped together. The one in the centre must be slightly higher than those two at the sides.
Tail (Under View):
.0.jpg)
Tail (Side View):
.jpg)
Notice that the tip to join to the head is cut slightly at an angle? This is to ensure that when you join tail and head together, you can lift the tail at an angle to make it point up.
Gold Fish Belly:
.JPG)
After joining head and tail together.
Gold Fish Hind:
.jpg)
Notice that the tail is lifted up at an angle.
Gold Fish Side:
.jpg)
Gold Fish Front:

Note: For the Belly, Right & Left Sides of Head, there are thin cardboards inside the red packets. Use scotch tape to tape all parts together. For the eyes, just print and paste with glue.
posted by Tazz @ 1/25/2006 02:06:00 PM
![]()


.jpg)
.jpg)
9 Comments:
At Wednesday, 25 January, 2006, Lazyg3r said…
Thanks for the illustrations, Eve. I will get TH to see this post and ask him to make some. Since Mr Tazz can make them, he shd. LOL!!
At Wednesday, 25 January, 2006, Unknown said…
Eve, so patient of you to post the step-by-step ;) Thanks!
At Wednesday, 25 January, 2006, Fonia said…
*Big big Muah* to Eve & Uncle Tazz... Thank you so much for posting the step-by-step of Gold Fish Making!
Xie xie! ;D
At Thursday, 26 January, 2006, Tazz said…
You are welcome!
Bu Ke Qi! :)
At Friday, 27 January, 2006, Edith said…
so cute little fishes. must have lots of patience to do this. thanks for sharing.
At Friday, 27 January, 2006, Tazz said…
Hi Edith, welcome to my blog! :) It's my pleasure to share.
At Friday, 27 January, 2006, culinary said…
eve, you make me gian nia...during the past cny, i hv been using cny red packet, folding lantern or fish since then i hv quit folding all these. Making orange using the orange colour netting was done last cny, since then i no more doing all these.
Your gold fish very nice lor, keep it up.
At Saturday, 28 January, 2006, rokh said…
wow so cute! anyway, happy chinese new year!
At Saturday, 28 January, 2006, Tazz said…
Jingle, I have made oranges and one pineapple with the netting as well. The pineapple looks like plastic in the photo. :P
Rachel, Happy New Year! :)
Post a Comment
<< Home
<< Index